
Hello everybody! Abbie here!
Check out this cute invitation I have made for a birthday party.
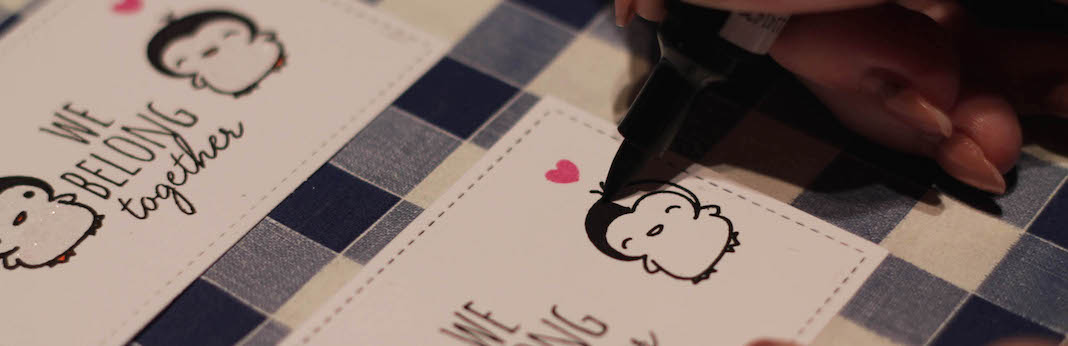
I have used plain white card stock 300gsm (I used 300gsm because it is thicker card and won't bend so easily going through the mail) and as you can see from the picture, I've used some clear photopolymer stamps. If you want to create this invitation you will need:
A5 Plain white cardstock
Avery Elle 'You're Invited' stamp set
Lawn Fawn 'Donut Worry' stamp set
Acrylic stamping block or Misti Stamping Tool
Black ink pad (I used versafine onyx black)
Lawn Fawn Stitched Rectangle Dies (I used the 4 1/2 by 3 3/8 inch size)
Various pens to colour in with (I like Windsor and Newton Brushmarkers and Zig Brushables)
Die cutting machine with accessories (cutting plates and adapter boards) I'm using Sizzix Big Shot Plus.
Firstly take your plain white cardstock and your stitched rectangle die and place it cutting side down on the edge of the white cardstock then run it through the die cutting machine. This piece is going to be the scripty bit of your invitation.
You then need to stamp your stitched piece of cardstock with your Avery Elle stamp set. I used my Misti Stamping Tool to line the stamp up where I wanted it first but you can also use an acrylic block. Simply lay the clean stamps face down on the stitched cardstock where you want them and then firmly press the acrylic block over the top to pick up the stamps.
Your next step is to ink up the stamp with your black ink and stamp onto the cardstock. Now put this piece to one side for later.
Go back you your excess of white cardstock (the one you cut the stitched rectangle from earlier) and cut it to 15cm width by 12cm height. This is going to be your donut printed back ground.
Now you will need to put your donut stamp from Lawn Fawn onto the acrylic block and also ink that up with black ink. You can now create your background by inking up and stamping the image several times until done. I worked in vertical rows but that is just my preference!
After that is complete, wait for the ink to dry and then you can start colouring in! Maybe even stamping some of the sprinkles in the Lawn Fawn set for a fun look.
After you are done you can adhere the your invited stitched rectangle to the donut background. I used double sided tape on the back of my stitched rectangle.
Then you are done!
Let me know if you have any questions.


No comments:
Post a Comment